ARTS-INTEGRATED SEL · GRADES 2–5
Kindness Is Something Students Can Build Together
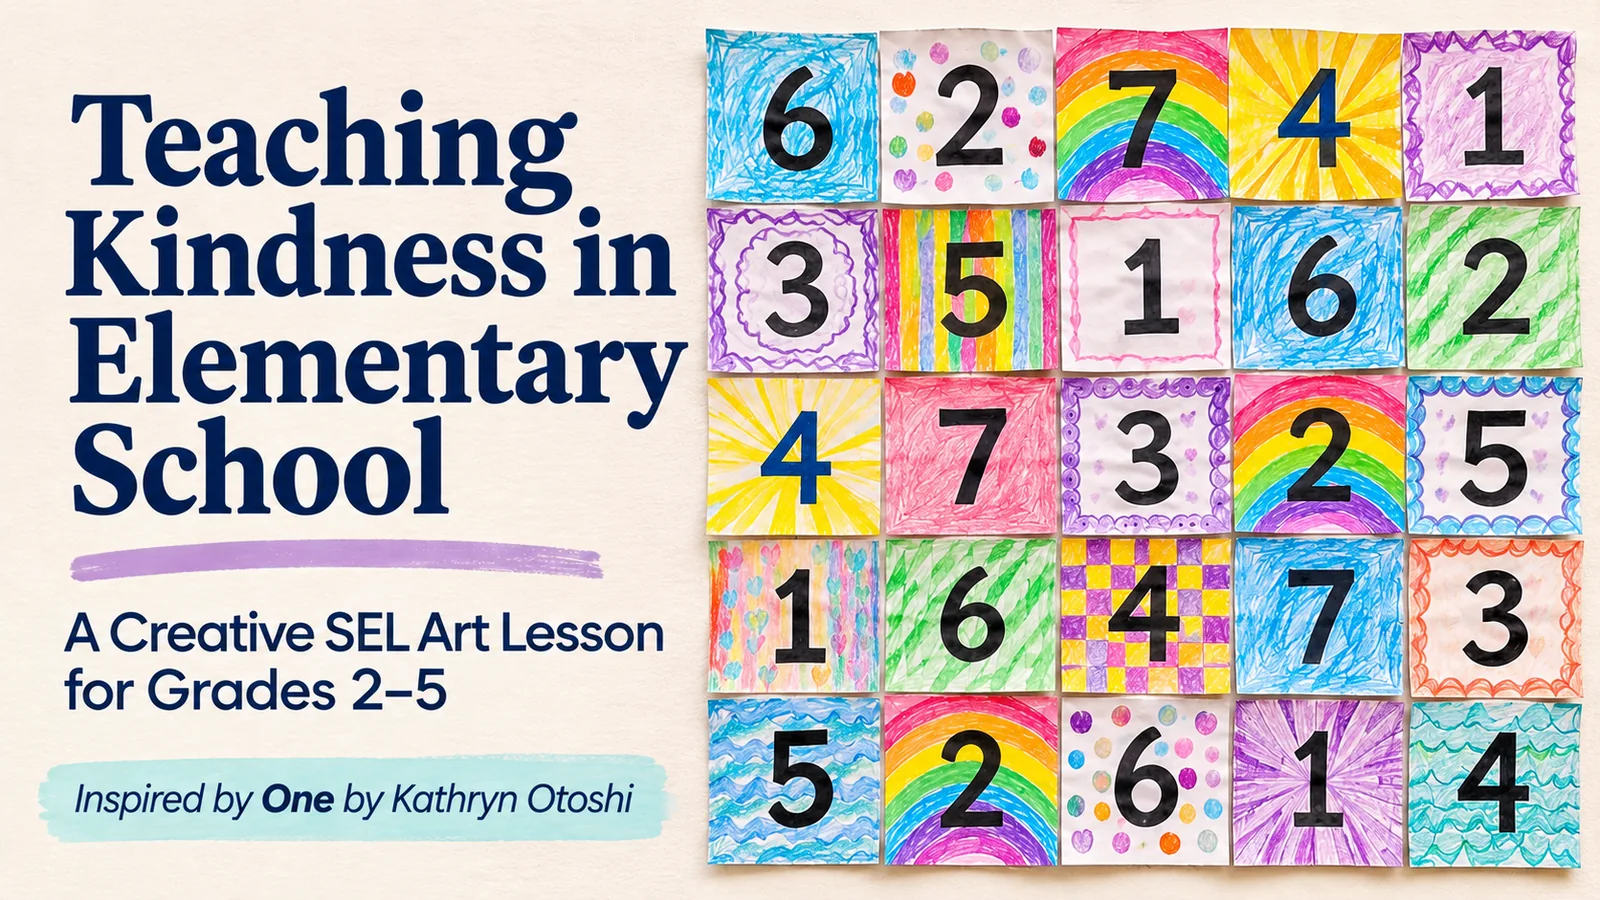
Inspired by One by Kathryn Otoshi, this classroom project turns numbered art squares into a colorful, shared reminder of kindness and belonging.
Every numbered square is different. Every student’s work belongs.
Most students can tell you what kindness means.
They know the words. Share. Help people. Include others. Be a good friend.
Then it is time to choose partners.
Someone immediately grabs their best friend. Another student starts negotiating because they wanted a different partner. A child hangs back, waiting to see whether anyone will choose them.
That is the moment when the kindness lesson needs to become something students can actually do.
As teachers and school counselors, we spend a lot of time helping children understand how their choices affect other people. We also know how easily a thoughtful conversation can stay on the carpet when students get up and move into the rest of their day.
That is one reason I love bringing the arts into social-emotional learning. Creating something together gives students opportunities to make decisions, explain their thinking, and work through the very skills we are trying to teach.
A kindness quilt activity brings those opportunities into one shared project. Paired with One by Kathryn Otoshi, it can help students explore a question worth returning to throughout the year:
What can I do when someone needs to know they belong?
CLASSROOM-READY LESSON
The Kindness Quilt at a Glance
What you’ll need: One by Kathryn Otoshi, square templates featuring numbers 1–7, crayons or colored pencils, scissors, glue, and butcher paper or poster board. Print enough squares for all students. The numbers repeat and may appear in any order.
- Read and notice. Pause at key moments in One to talk about how the characters feel and what helps someone speak up or feel supported.
- Talk about a real choice. Invite children to describe one small action they could take to include or support someone.
- Decorate a numbered square. Give each student one square template with a large printed numeral from 1–7. Invite students to color the number and surrounding square in their own style.
- Build the quilt. Cut out each complete square, keeping its border and printed number, and arrange the squares together on butcher paper or poster board in any order students choose. Numbers 1–7 can repeat anywhere in the quilt; there is no required sequence.
- Return to it. Display the finished quilt in a classroom or hallway, then revisit it when students practice including, listening to, or helping others.
Think of this as a shared visual reminder, not a contest to produce identical artwork.
THE CONVERSATION
Start with the part of kindness that can feel difficult
“Be kind” sounds simple when everyone is getting along.
It becomes more complicated when a friend is the person leaving someone out. Or when a student wants to help but is worried about becoming the next target. Or when children assume that somebody else will step in.
Those are useful places to take the conversation.
In One, Otoshi uses colors and numbers to explore differences, hurtful behavior, and the power of speaking up. The story offers a shared situation students can discuss before you ask them to consider their own choices.
After reading, choose a question that invites more than the expected answer:
- What might make it difficult to help someone?
- Can you disagree with a friend and still care about them?
- What could you do if speaking up in front of everyone feels uncomfortable?
- How could you help someone without trying to handle the whole situation yourself?
Give students a little time to think. A quick partner conversation or a sketch can help them develop an idea before sharing with the group.
If a student says, “I would be scared,” there is something meaningful to work with.
You might respond, “That makes sense. What is a helpful choice someone could make while still feeling scared?”
Now students can consider getting an adult, quietly checking on the person, or inviting them to join an activity. They have several possible ways to help, including choices that do not require a public confrontation.
MAKE IT CONCRETE
Help students picture a specific action
Before bringing out the art materials, ask students to imagine an ordinary school moment.
A new student does not understand the game.
Someone makes a mistake while reading aloud.
A child arrives at a table where the conversation is already underway.
Ask, “What could another person say or do that might help?”
You will probably hear “Be nice” or “Help them.” Keep going gently.
“What would that sound like?”
“What would I see you doing?”
A broad idea can become a sentence a child could actually use:
“You can sit here. We’re talking about our science project.”
“I can explain the rules.”
“Do you want me to go with you to ask for help?”
This gives students a clearer starting point for their artwork. Each piece can represent a choice they understand well enough to explain.
LET STUDENTS CREATE
Give the art a purpose students can explain
The template is a square with a large printed number, not a free-standing number shape. There are two border styles to choose from: a simple framed square and a bolder decorative edge. Students personalize the number and the space around it with their own colors, patterns, or drawings. Multiple students will receive the same number because the set runs from 1 through 7. Cut out the full squares, including their borders, before assembling the quilt.
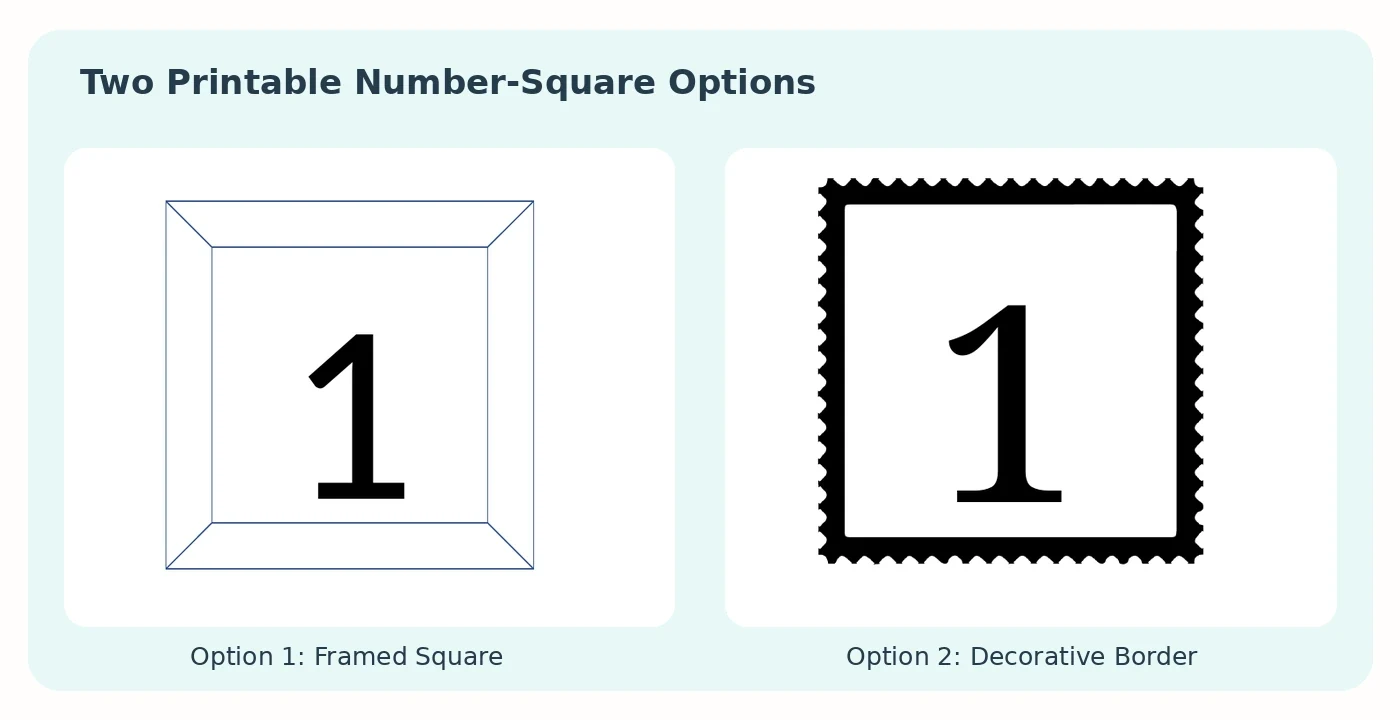
Invite students to think about how one character felt and how someone else’s response could make a difference. Then ask them to decorate their numbered square in a way that connects to that conversation. The printed number stays visible while the surrounding artwork is theirs to invent. There is no need to copy the book’s illustrations.
One student might choose warm colors to represent welcome, while another uses contrasting patterns to show how feelings can change when someone steps in to help. You can invite students to explain their choices without requiring a single correct visual answer.
The beauty of the finished quilt comes from seeing different students interpret the same numbered-square template in their own ways.
The interesting part is hearing why students made their choices.
Try asking:
- “What do you want someone to understand when they look at your piece?”
- “How does that detail connect to your idea?”
- “What could you add to help the viewer understand?”
A student might explain, “I used a bright color because it feels like someone being welcomed.”
That explanation gives you something to respond to: the connection between a visual choice and an idea about belonging.
A short artist statement can help capture the thinking:
“My piece shows ___. I used ___ because ___.”
Students can write, dictate, or share their explanation aloud. Keep the amount of writing appropriate for the children in front of you.
REAL CLASSROOM MOMENTS
Pay attention to what happens while students create
This is the part of a collaborative project that deserves as much attention as the finished display.
Students may be making artwork about kindness while disagreeing over supplies. Someone may offer an idea that the group ignores. One child may begin directing everyone else because they have a very clear vision of how the quilt should look.
Those moments give you something concrete to teach.
Suppose two students both want the same marker. You can help them name the problem and consider a workable plan:
“You both want blue for your design. What could you arrange so each person gets a turn?”
If one student is making every decision, try:
“I’ve heard your idea. Let’s make room for the other ideas before the group chooses.”
And if a child’s contribution is being dismissed:
“Tell us what you were hoping to show. We need to understand your idea before we decide.”
You are helping students practice participation, listening, and negotiation inside the activity. That is valuable information for you, too. You can notice which skills students use independently and where they still need support.
THE SHARED QUILT
Bring the pieces together without losing the individual voices
Before assembling the quilt, let students share their work with a partner or small group.
Give the listener a purpose: find out what the artist wanted to communicate.
Then arrange the completed numbered squares together in any order, keeping the numbers and their colored borders visible. Students can help decide where their pieces belong. Mount them on large paper or poster board to form a patchwork quilt; there is no need to arrange the numbers from 1 to 7. You might make one for a classroom or combine squares from an entire grade level, as in the completed example that accompanies my resource. Look at the whole display as one piece of collaborative art.
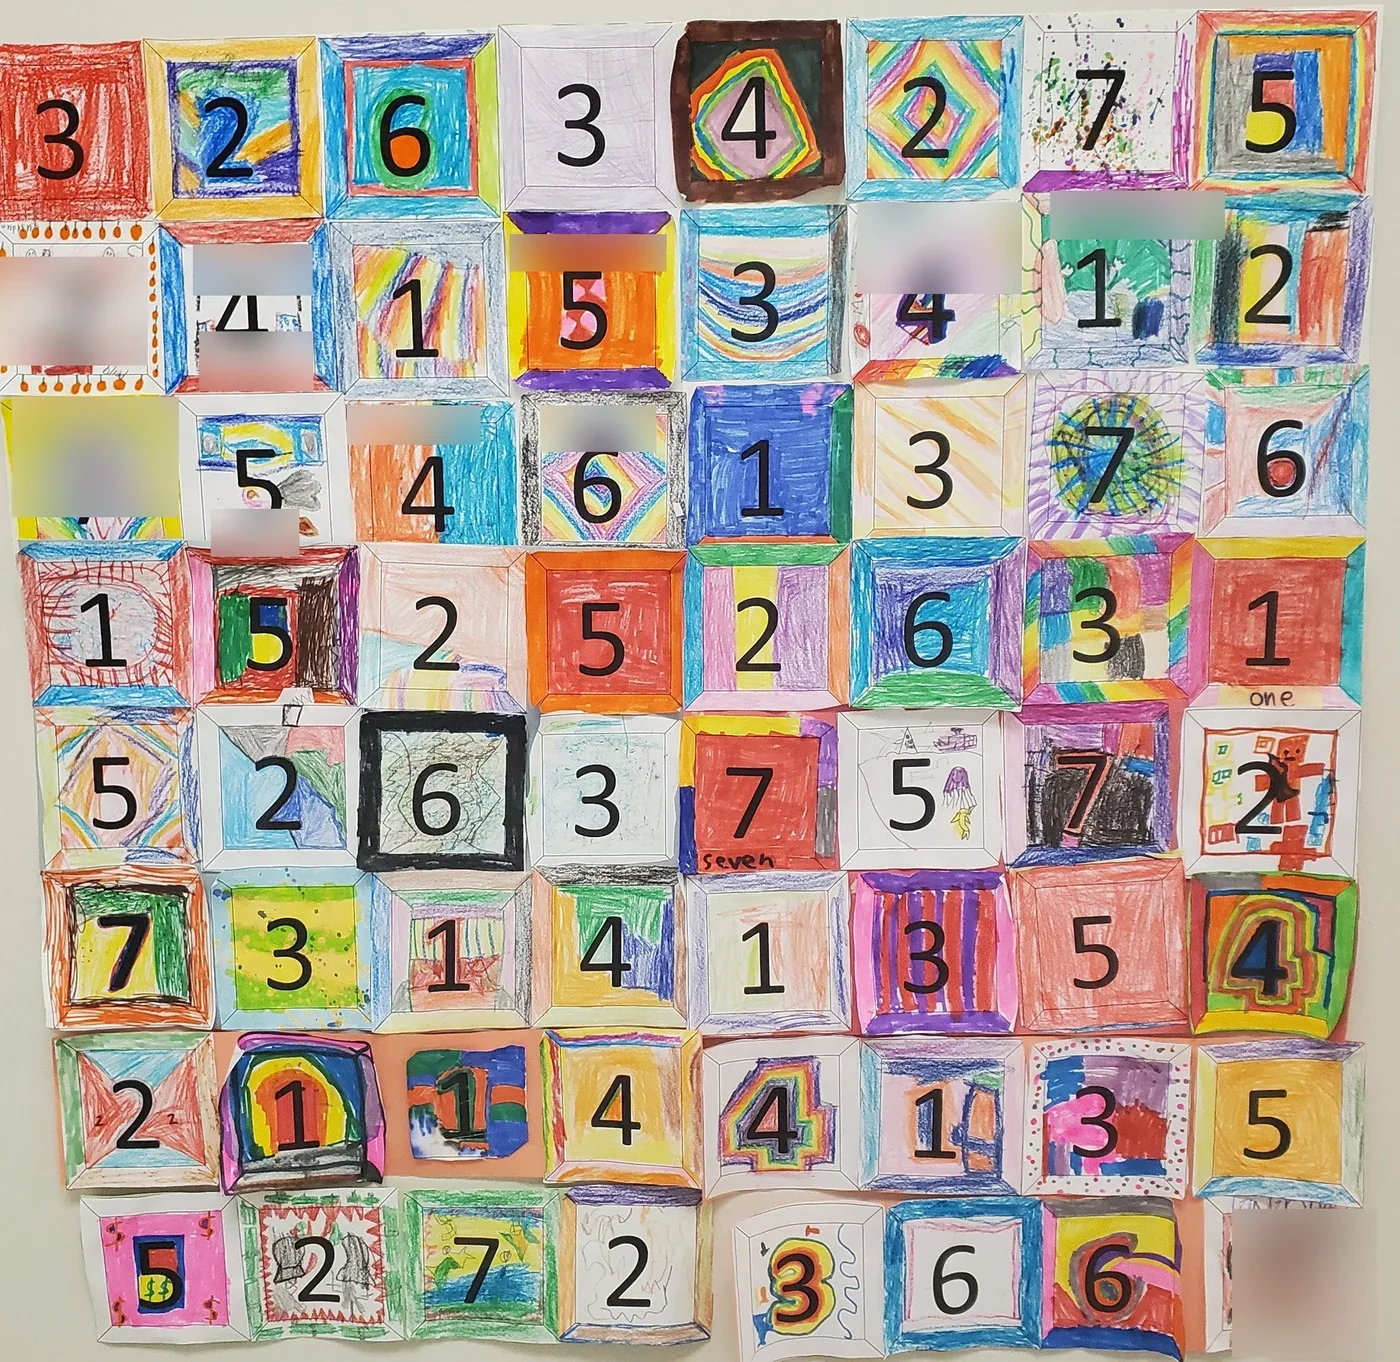
Ask:
“What do you notice now that the pieces are together?”
“Where do you see similar ideas expressed in different ways?”
“What would be missing if some students’ pieces were left out?”
Keep every student’s contribution part of the project, including work completed with adult support. The display should reflect the class that made it.
You can add a title such as “Ways We Make Room for Each Other” and include a few student explanations beside the artwork.
Those explanations help the display hold onto the thinking that happened during the lesson.
KEEP IT MEANINGFUL
Return to the quilt when the classroom needs it
A few days later, choose one idea from the quilt before a group activity.
“Today we’ll be working with partners. Which idea here might help someone join the conversation?”
Afterward, invite a brief reflection:
“Was there a moment when you needed to listen, invite, explain, or ask for help?”
Keep the conversation specific and avoid turning it into a competition over who was the kindest.
If exclusion or bullying is continuing, it needs direct adult attention and follow-through. The quilt can support your teaching while you address what is happening.
It also gives you shared language to revisit. Students have already thought about these choices, created a visual representation, and heard how classmates understood them. You have something familiar to bring back into the conversation.
If you want this to be more than a one-day kindness activity, connect the conversation to the routines students already know. In Putting the Classroom SEL System Together, I share a way to make small social-emotional skills part of everyday classroom life.
READY-TO-USE RESOURCE
A starting point for your own kindness quilt
My Kindness Quilt Activity for One by Kathryn Otoshi includes two options for square number templates, each featuring a large numeral from 1–7 inside a border. Students color the squares, then combine them into a class or grade-level patchwork. The lesson is designed for grades 2–5, and you’ll need access to the book separately.
The discussion questions and extensions above give you ways to deepen the experience around that project.
You can divide it across two lessons: begin with the story and conversation, then return to create, share, and assemble. Leave yourself time to listen while students work. Some of the most useful teaching opportunities may happen before anything reaches the bulletin board.
The next time your class chooses partners, shares materials, or welcomes someone into a game, you can return to a question they have already explored:
“What could you do here to help someone belong?”